How Do You Remove a Popsocket: Easy Steps & Tips
Are you struggling to remove a Popsocket from your phone? You’re not alone!
Whether you’re upgrading your phone case or simply want a new look, taking off a Popsocket can feel like a daunting task. But don’t worry—it’s easier than you might think. In this guide, we’ll walk you through the simple steps to safely remove a Popsocket without damaging your phone or its case.
By the end, you’ll feel confident tackling this task whenever you want. Ready to finally get rid of that stubborn accessory? Keep reading to discover the tricks that make this process a breeze!
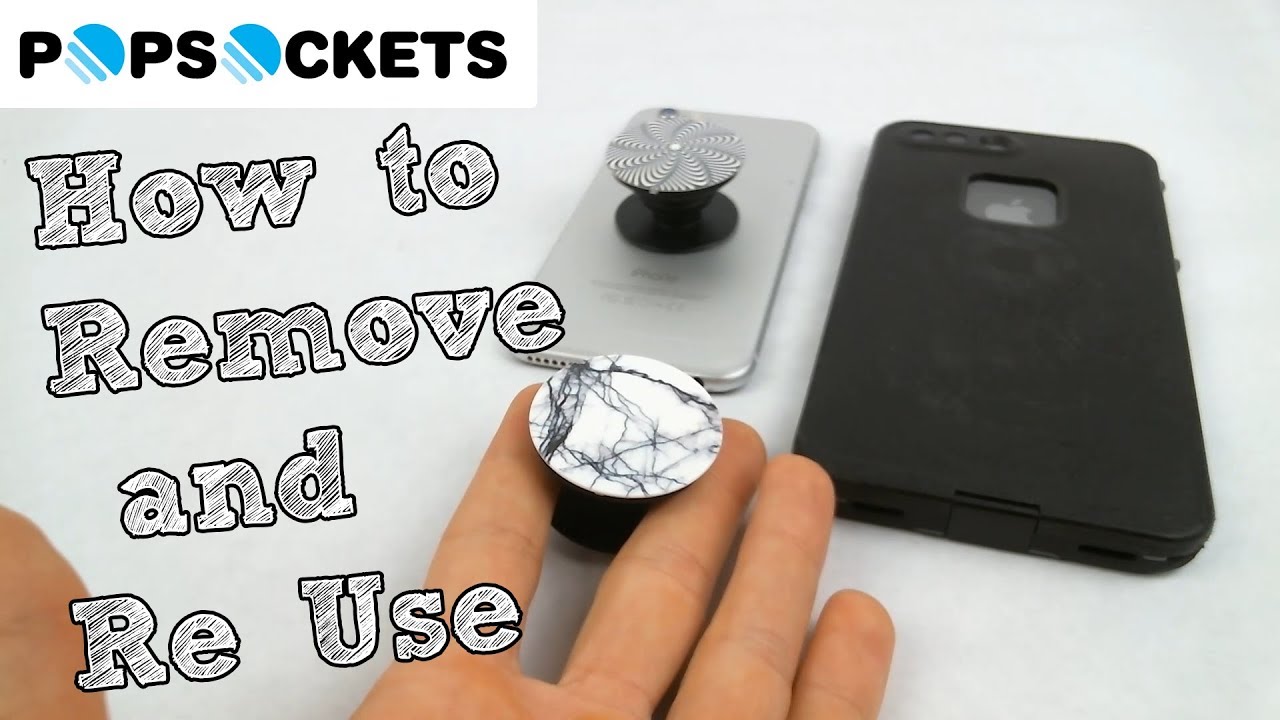
Credit: www.youtube.com
What Is A Popsocket?
Popsocket is a helpful phone accessory. It sticks to the back of your phone. You can hold your phone easily with a Popsocket. It can also be used as a stand. Many people find it useful for taking photos. It comes in different colors and styles. Popsockets can be personalized with designs. They are popular among kids and adults alike. Removing a Popsocket may seem tricky.

Credit: www.pinterest.com
Why Remove A Popsocket?
Popsockets are great for holding phones. Sometimes, they get dirty or break. Removing a popsocket helps keep your phone clean. It also gives your phone a fresh look. Removing it is easy. First, find a small tool or card. Slide it under the popsocket. Gently lift the popsocket. This action releases it from the phone. Take care not to scratch your phone. If the popsocket is sticky, use a little water. Wet a cloth and wipe around the popsocket. This helps loosen the glue. Your phone will be free and clear.
Essential Tools
Removing a Popsocketis easy with the right tools. First, you need a thin, flat object. A credit cardworks well. You can also use a guitar pick. These tools help you get under the Popsocket. A little patience goes a long way. Slowly slide the tool under the edge. Be gentle to avoid damage.
Another helpful tool is a hair dryer. It softens the adhesive. Use it for a few seconds. Keep the dryer on low heat. This makes the process easier.
Finally, have a clean clothready. It helps clean the surface. Use it after the Popsocket is off. This removes leftover sticky residue. Your phone will look as good as new.
Step-by-step Removal Guide
Find a clean space to work. Use a soft cloth or towel. This will protect your phone. Make sure your hands are clean too. This keeps the phone safe from scratches.
Warm the Popsocket with a hairdryer. This softens the glue. Hold the dryer 6 inches away. Move it around for 15 seconds. Be careful not to overheat. Too much heat might damage the phone.
Use your fingernail to lift one side. Do this slowly. Do not rush. Pull gently until it comes off. If it sticks, warm it again. This should make it easier to remove.
Wipe the area with a damp cloth. Use warm water and soap. This removes any leftover glue. Dry the phone with a soft towel. Make sure no water enters the phone. Your phone is now ready for use.
Tips For Safe Removal
To safely remove a Popsocket, first, collapse it. Then, gently peel it off starting from one edge. Avoid using sharp objects to prevent damage.
Avoid Using Sharp Objects
Sharp objects can damage your phone. Always use your fingers to remove a Popsocket. Pull gently on the Popsocket’s base. This helps avoid scratches or dents. Be patient and take your time. Quick pulls can harm your device.
Protect The Phone Surface
Keep your phone safe during removal. Use a soft cloth to cover the phone’s back. This prevents friction and possible marks. Make sure the phone is clean and dry before removal. Dirt can cause scratches. Always handle with care for the best results.
Reusing A Popsocket
Refreshing the Adhesiveis key to reusing your Popsocket. First, clean the sticky area with water. Rub gently to remove dirt. Let it dry completely. Use a hairdryer to speed up drying. The sticky part must be dry before use. Once dry, press it firmly on a flat surface. This helps the adhesive regain its stickiness. Avoid touching the sticky area with fingers. Oils from hands can weaken the adhesive. Keep the surface clean. This ensures a strong hold.
Reapplying the Popsocketcan be easy. Start by choosing a smooth surface. Press the Popsocket firmly. Hold for 10 seconds. This ensures it stays in place. Check if it sticks well. If it feels loose, repeat the steps. Make sure the surface is clean before placing it. Dirt can make the adhesive weak. Always press firmly for a strong grip. A clean surface helps the Popsocket stay longer.
Common Mistakes To Avoid
Removing a Popsocketneeds care. Pulling too hard can break it. Twisting can damage the phone case. Many use sharp objects. This can scratch the phone. Wetting the Popsocket is risky. Water can seep into the phone. It’s best to avoid these mistakes.
Using heat can also harm the phone. Some try to heat it. Heat can warp the plastic. Always be gentle. Start slow and steady. Use your fingers, not tools. Keep your phone safe. Protect your phone while removing a Popsocket.
Troubleshooting Issues
Popsockets can get stuck on your phone. You may want to remove it. Start by gently pulling the edges. Slowly work your way around the base. This helps loosen the adhesive. If it doesn’t budge, try using a thin card. Slide it under one side. Wiggle the card back and forth. This can help lift the popsocket.
If that doesn’t work, use warm water. Dampen a cloth. Rub it around the edges. The water softens the glue. Be careful not to wet your phone. Keep it dry. Once loose, lift the popsocket. Clean the sticky residue with soap. Your phone will look new again. Always handle your device gently.

Credit: www.wikihow.com
Frequently Asked Questions
How Do You Safely Remove A Popsocket?
To safely remove a Popsocket, gently peel it off from one side. Use a slow, steady motion. Avoid pulling too quickly to prevent damage. If it’s stuck, apply a little warm water to loosen the adhesive. Allow it to dry before reusing or reapplying.
Can A Popsocket Be Reused After Removal?
Yes, a Popsocket can be reused after removal. Ensure the adhesive is clean and intact. If the sticky part is dirty, rinse it gently with water. Let it air dry completely before reattaching. Make sure the surface you’re sticking it to is clean and flat.
Does Removing A Popsocket Damage The Phone?
Removing a Popsocket usually doesn’t damage the phone. It uses a non-permanent adhesive that peels off cleanly. If there’s residue, it can be wiped away with a damp cloth. Avoid using harsh chemicals on your phone’s surface to maintain its condition.
How Long Does A Popsocket Last?
A Popsocket can last for many months with proper care. The adhesive is designed for multiple reattachments. Avoid exposing it to dirt or moisture to prolong its lifespan. If it loses stickiness, cleaning the adhesive surface can help restore its grip.
Conclusion
Removing a Popsocket is simple with the right steps. Start by gently lifting its edge. Slowly peel it away from your phone. Ensure you don’t rush to avoid damage. You might need some patience. If it sticks, use a bit of warmth.
A hairdryer works well. Remember to clean your phone’s surface after removal. This keeps it ready for future use. Always handle with care. Now, you can reuse or replace your Popsocket easily. Following these tips ensures a smooth process. Enjoy your phone’s refreshed look!

Finnian Delaney is a seasoned writer and editor specializing in technology and electronics. At ElectroDoz, he covers a wide range of topics, with a focus on MacBooks, laptops, fitness trackers, keyboards, and computer hardware. With a knack for making complex tech accessible, Finnian helps readers stay informed and confident when choosing their next device or upgrade.