How to Connect Document Camera Aver F17 to Laptop?
Are you trying to connect your Aver F17 document camera to your laptop but feeling a bit stuck? You’re not alone!
Many people face this challenge and end up missing out on the amazing benefits a document camera offers. Imagine effortlessly capturing high-quality images, projecting documents in real-time, and enhancing your presentations or teaching sessions. Sounds great, right? In this guide, you’ll discover simple steps to get your Aver F17 connected and ready to use.
Once you see how easy it is, you’ll wonder why you waited so long. Let’s dive in and transform your tech setup today!
Credit: www.averusa.com
Preparing The Equipment
Find the right cables to connect the Aver F17 camera. You need a USB cable or a VGA cable. These cables help link the camera to the laptop. Check if you have a power cable for the camera. Without it, the camera will not work.
Check if your laptop has the right ports. Look for a USB port or a VGA port. These ports help connect the camera to the laptop. Make sure your laptop can use drivers for the camera. Some laptops need special drivers to work with the camera.
Credit: www.gmapswidget.com
Setting Up The Document Camera
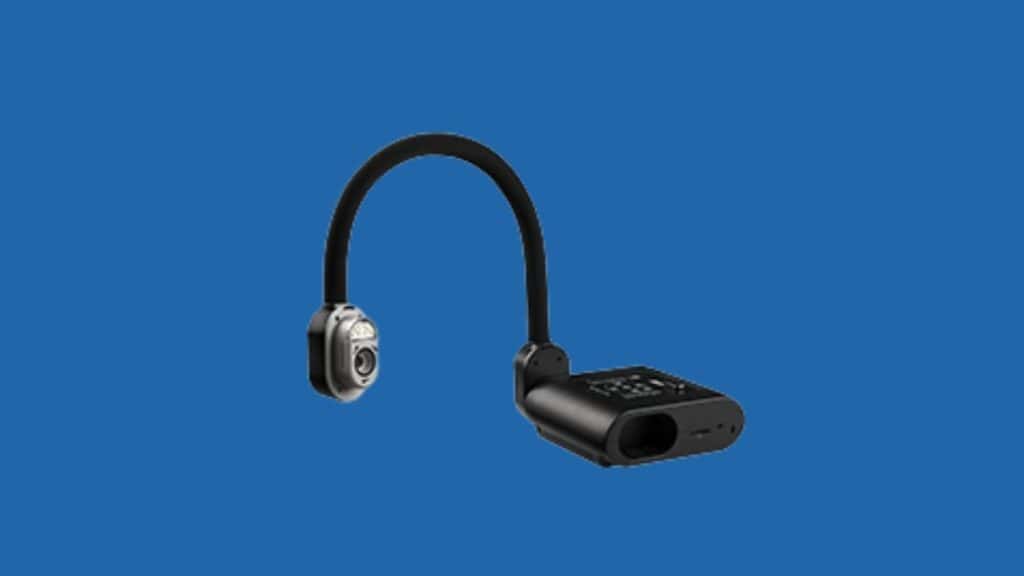
Place the document camera on a stable table. Ensure it’s near your laptop. The arm of the camera should be flexible. This helps in adjusting the angle easily. Documents should be visible and clear. Make sure the camera is not too far away. This ensures clear images.
Power on the camera and your laptop. Open the camera software. Look for settings or options. Adjust the brightness for better visibility. Focus the camera for clear images. Use the zoom feature if needed. Check all settings before starting. Ensure everything looks perfect.
Connecting To The Laptop
Locate the USB port on your laptop. Connect the USB cable to your document camera. Plug the other end into the laptop’s USB port. Turn on the document camera. It might need a few moments to detect the connection. Check your laptop screen. You should see the camera view appear. Install any required software if prompted. Follow instructions on your screen. This helps your laptop recognize the camera.
Find the HDMI port on your laptop. Connect the HDMI cable to the document camera. Insert the other end into the laptop’s HDMI port. Power on the camera. Wait for your laptop to recognize the connection. Adjust settings if needed. This ensures a clear view. Verify the display settings on your laptop. Check for any software prompts. Follow the steps to complete the setup.
Installing Required Software
First, go to the Aver official website. Look for the download section. Find the software for the Aver F17. Click on the download link. Save the file to your computer. Make sure you choose the correct version. This depends on your laptop’s operating system.
Open the downloaded file on your laptop. Follow the easy steps on the screen. It will guide you through the installation. This process is important. It helps the laptop understand the camera. Without drivers, the camera won’t work. Check if the drivers are installed correctly. This ensures smooth operation.
Configuring Display Settings
Change the resolution on your laptop for better clarity. Open the display settings on your device. Select the resolution that suits your needs. Higher resolution gives clearer images. Lower resolution can make things bigger but less clear. Always choose the best resolution for your document camera. This helps in getting the best view of your documents.
Connect the Aver F17 to your laptop using the right cable. Go to the settings and find external display options. Choose to extend or duplicate your screen. Extending lets you have more space. Duplicating shows the same image on both screens. Make sure the connection is secure. Check if both screens show the image well. Adjust settings if needed for the best view.

Credit: vocal.media
Troubleshooting Connection Issues
Connecting the Aver F17 document camera to a laptop can be simple. Ensure all cables are secure and select the correct input source. Troubleshoot by checking software compatibility and updating drivers if needed.
Resolving Usb Problems
Ensure the USB cableis connected properly. Check if the cable is damaged. Use another USB port on the laptop if needed. Update your laptop’s USB drivers. Restart both the laptop and the document camera. Use a different USB cable to test the connection. Make sure the camera is switched on. The power indicatorshould be lit.
Fixing Hdmi Connectivity
Confirm the HDMI cableis firmly attached. Inspect the cable for any visible damage. Test with another HDMI port on the laptop. Ensure the laptop’s HDMI driversare up-to-date. Restart the laptop and the document camera. Try a different HDMI cable if possible. Verify the display settings on the laptop. Select the correct input on the laptop for the camera.
Optimizing Camera Use
To get clear pictures, make sure the lens is clean. Use a soft cloth to wipe it. Adjust the zoom to see details better. Bright lights help you see better. Reduce glare by moving the light source. Try different angles for the best view.
Use the focus button for sharp images. If blurry, press it again. Check the resolution settings on your laptop. Choose a higher resolution for better quality. Too bright? Lower the brightness. Find the right balance for clear images.
The document camera has cool features. Use the freeze button to pause the screen. This is great for explaining something. The rotate feature helps flip images. Handy for upside-down documents. Try the split screen to compare two images.
Save images using the snapshot feature. This helps in keeping records. Try the annotate tool to write on images. Use it for notes or marks. These features make using the camera fun and easy. Explore them to make your work better.
Frequently Asked Questions
How Do I Connect Aver F17 To A Laptop?
To connect the Aver F17 document camera to your laptop, use a VGA or HDMI cable. Attach one end to the camera and the other to your laptop. Ensure both devices are powered on. You may need to adjust your laptop’s display settings to extend or duplicate the screen.
Which Cable Is Best For Aver F17 Connection?
The Aver F17 can be connected using HDMI or VGA cables. HDMI offers better video quality and supports audio transmission. VGA is older but still widely used. Choose HDMI for newer laptops and higher resolution. If your laptop lacks these ports, consider using adapters or converters.
Can Aver F17 Connect Wirelessly To Laptops?
The Aver F17 does not support direct wireless connectivity. You must use physical cables like HDMI or VGA for connection. However, you can use wireless adapters or devices that convert signals if needed. Ensure your setup supports wireless transmission before purchasing additional equipment.
What Software Is Needed For Aver F17 Setup?
To use Aver F17 effectively, install AverVision software on your laptop. This software enhances document display and provides additional features. Visit Aver’s official website for downloads and updates. Ensure compatibility with your laptop’s operating system before installation to prevent issues.
Conclusion
Connecting the Aver F17 document camera to your laptop is simple. Follow the steps, and you’ll be ready to go. Ensure all cables are secure. Check your laptop settings for compatibility. Troubleshoot any issues by restarting devices. Enjoy the benefits of clear presentations.
Share documents with ease. Impress your audience with seamless displays. Remember to update software regularly. This keeps your connection smooth. Explore new ways to use your document camera. Enhance learning and engagement. Practice makes perfect, so keep experimenting. With patience, you’ll master the setup.
Your laptop and camera will work in harmony.

Finnian Delaney is a seasoned writer and editor specializing in technology and electronics. At ElectroDoz, he covers a wide range of topics, with a focus on MacBooks, laptops, fitness trackers, keyboards, and computer hardware. With a knack for making complex tech accessible, Finnian helps readers stay informed and confident when choosing their next device or upgrade.