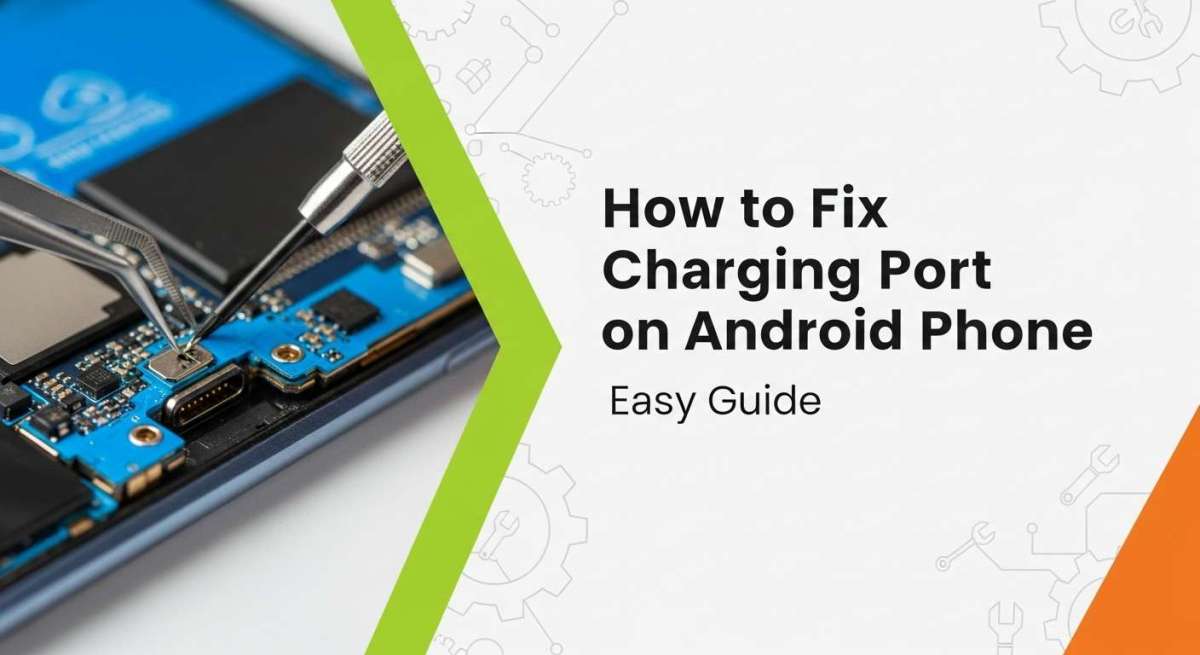
How to Fix Charging Port on Android Phone: Easy Guide
Is your Android phone not charging the way it used to?
Does the charger wiggle inside the port, or only work at certain angles?
If yes, you are not alone — this is a very common problem.
The good news? You can often fix it yourself at home.
No need to spend money on repairs right away.
In this step-by-step guide, you’ll learn how to fix charging port on Android phone safely and effectively.
We’ll cover cleaning methods, testing steps, replacement tips, and preventive maintenance to keep your device charging smoothly.
Why the Charging Port Matters
Your phone’s charging port (also called a USB port or power connector) is the bridge between power and battery.
When it fails, your phone becomes nearly useless — even if the battery and charger are fine.
Most Android phones today use USB-C ports, while older models use Micro-USB. Both can suffer from dust, wear, and loose pins.
A dirty or damaged port is the #1 reason why Android phones stop charging properly.
Common Charging Port Problems
Before fixing the issue, let’s identify what might be wrong.
Here are the most common reasons your Android phone may not charge.
1. Dust and Debris Buildup
Tiny particles of dust or lint can collect in the charging port.
Over time, this buildup blocks the charger from making a good connection.
It’s one of the most frequent and easiest problems to fix.
2. Loose Connection
After repeated plugging and unplugging, the metal inside the port can loosen.
This makes the charger unstable — you might need to hold it at a certain angle to charge.
Sometimes, the port becomes partially detached from the circuit board.
3. Damaged or Bent Pins
Inside the port are small metal pins.
If they bend or break, your phone won’t charge or might charge intermittently.
This usually requires careful straightening or part replacement.
4. Corrosion or Water Damage
Moisture can cause corrosion inside the port, leading to discoloration, poor contact, and eventually complete failure.
If your phone was exposed to liquid, treat this as a serious issue.
5. Faulty Cable or Charger
A frayed cable or cheap charger can mimic port issues.
Always test your charging gear before opening your phone.
6. Software Glitches
Sometimes the problem isn’t hardware at all.
A software bug can interfere with battery detection or charging functions.
Rebooting or updating the phone often fixes this.
Tools and Materials You’ll Need
Before starting, gather the right tools.
Having them ready makes the repair process smoother and safer.
- Small precision screwdriver set
- Soft brush or small paintbrush
- Can of compressed air
- Wooden toothpick or plastic spudger (no metal tools)
- Cotton swabs
- Isopropyl alcohol (90% or higher)
- Tweezers (plastic tip preferred)
- Microfiber cloth
- Multimeter (for voltage testing, optional)
- Replacement charging port or flex cable (model-specific)
- Anti-static wrist strap (to prevent static damage)
- Small container or magnetic mat for screws
Tip: You can do most cleaning fixes without soldering tools or technical experience.

Credit: aussiemobilephonerepairs.com.au
Safety Precautions Before You Begin
Working safely is essential when handling electronics.
- Turn off your phone before doing anything.
- Unplug all chargers and cables.
- Make sure your hands are dry.
- Avoid metal tools inside the port.
- Work on a flat, clean surface — static-free if possible.
- Use bright lighting to see tiny details.
- Keep screws organized in small containers.
- If something feels risky, stop and seek professional help.
Step 1: Run Basic Checks First
Before diving into repairs, test these quick fixes — they often solve the issue immediately.
- Try a different cable and charger.
- Use a different power outlet or USB port.
- Plug your charger into another device to verify it works.
- Restart your Android phone.
- Inspect the charging port for visible dirt, lint, or bent pins.
- Test charging from a computer USB port or power bank.
If it charges properly with another cable or adapter, your original one is the problem — not the port.
Step 2: Clean the Charging Port Safely
If your phone still doesn’t charge, the most likely cause is dirt or lint inside the port.
Cleaning it carefully can restore normal charging.
Method 1: Use Compressed Air
- Turn off your phone.
- Hold the air can upright.
- Use short, controlled bursts of air to blow into the port.
- Avoid tilting the can — liquid propellant can damage the port.
- Test the charger after cleaning.
Method 2: Soft Brush Cleaning
- Use a dry, soft-bristle brush (like a small makeup or paintbrush).
- Gently sweep inside the port to loosen lint.
- Blow air again to remove remaining particles.
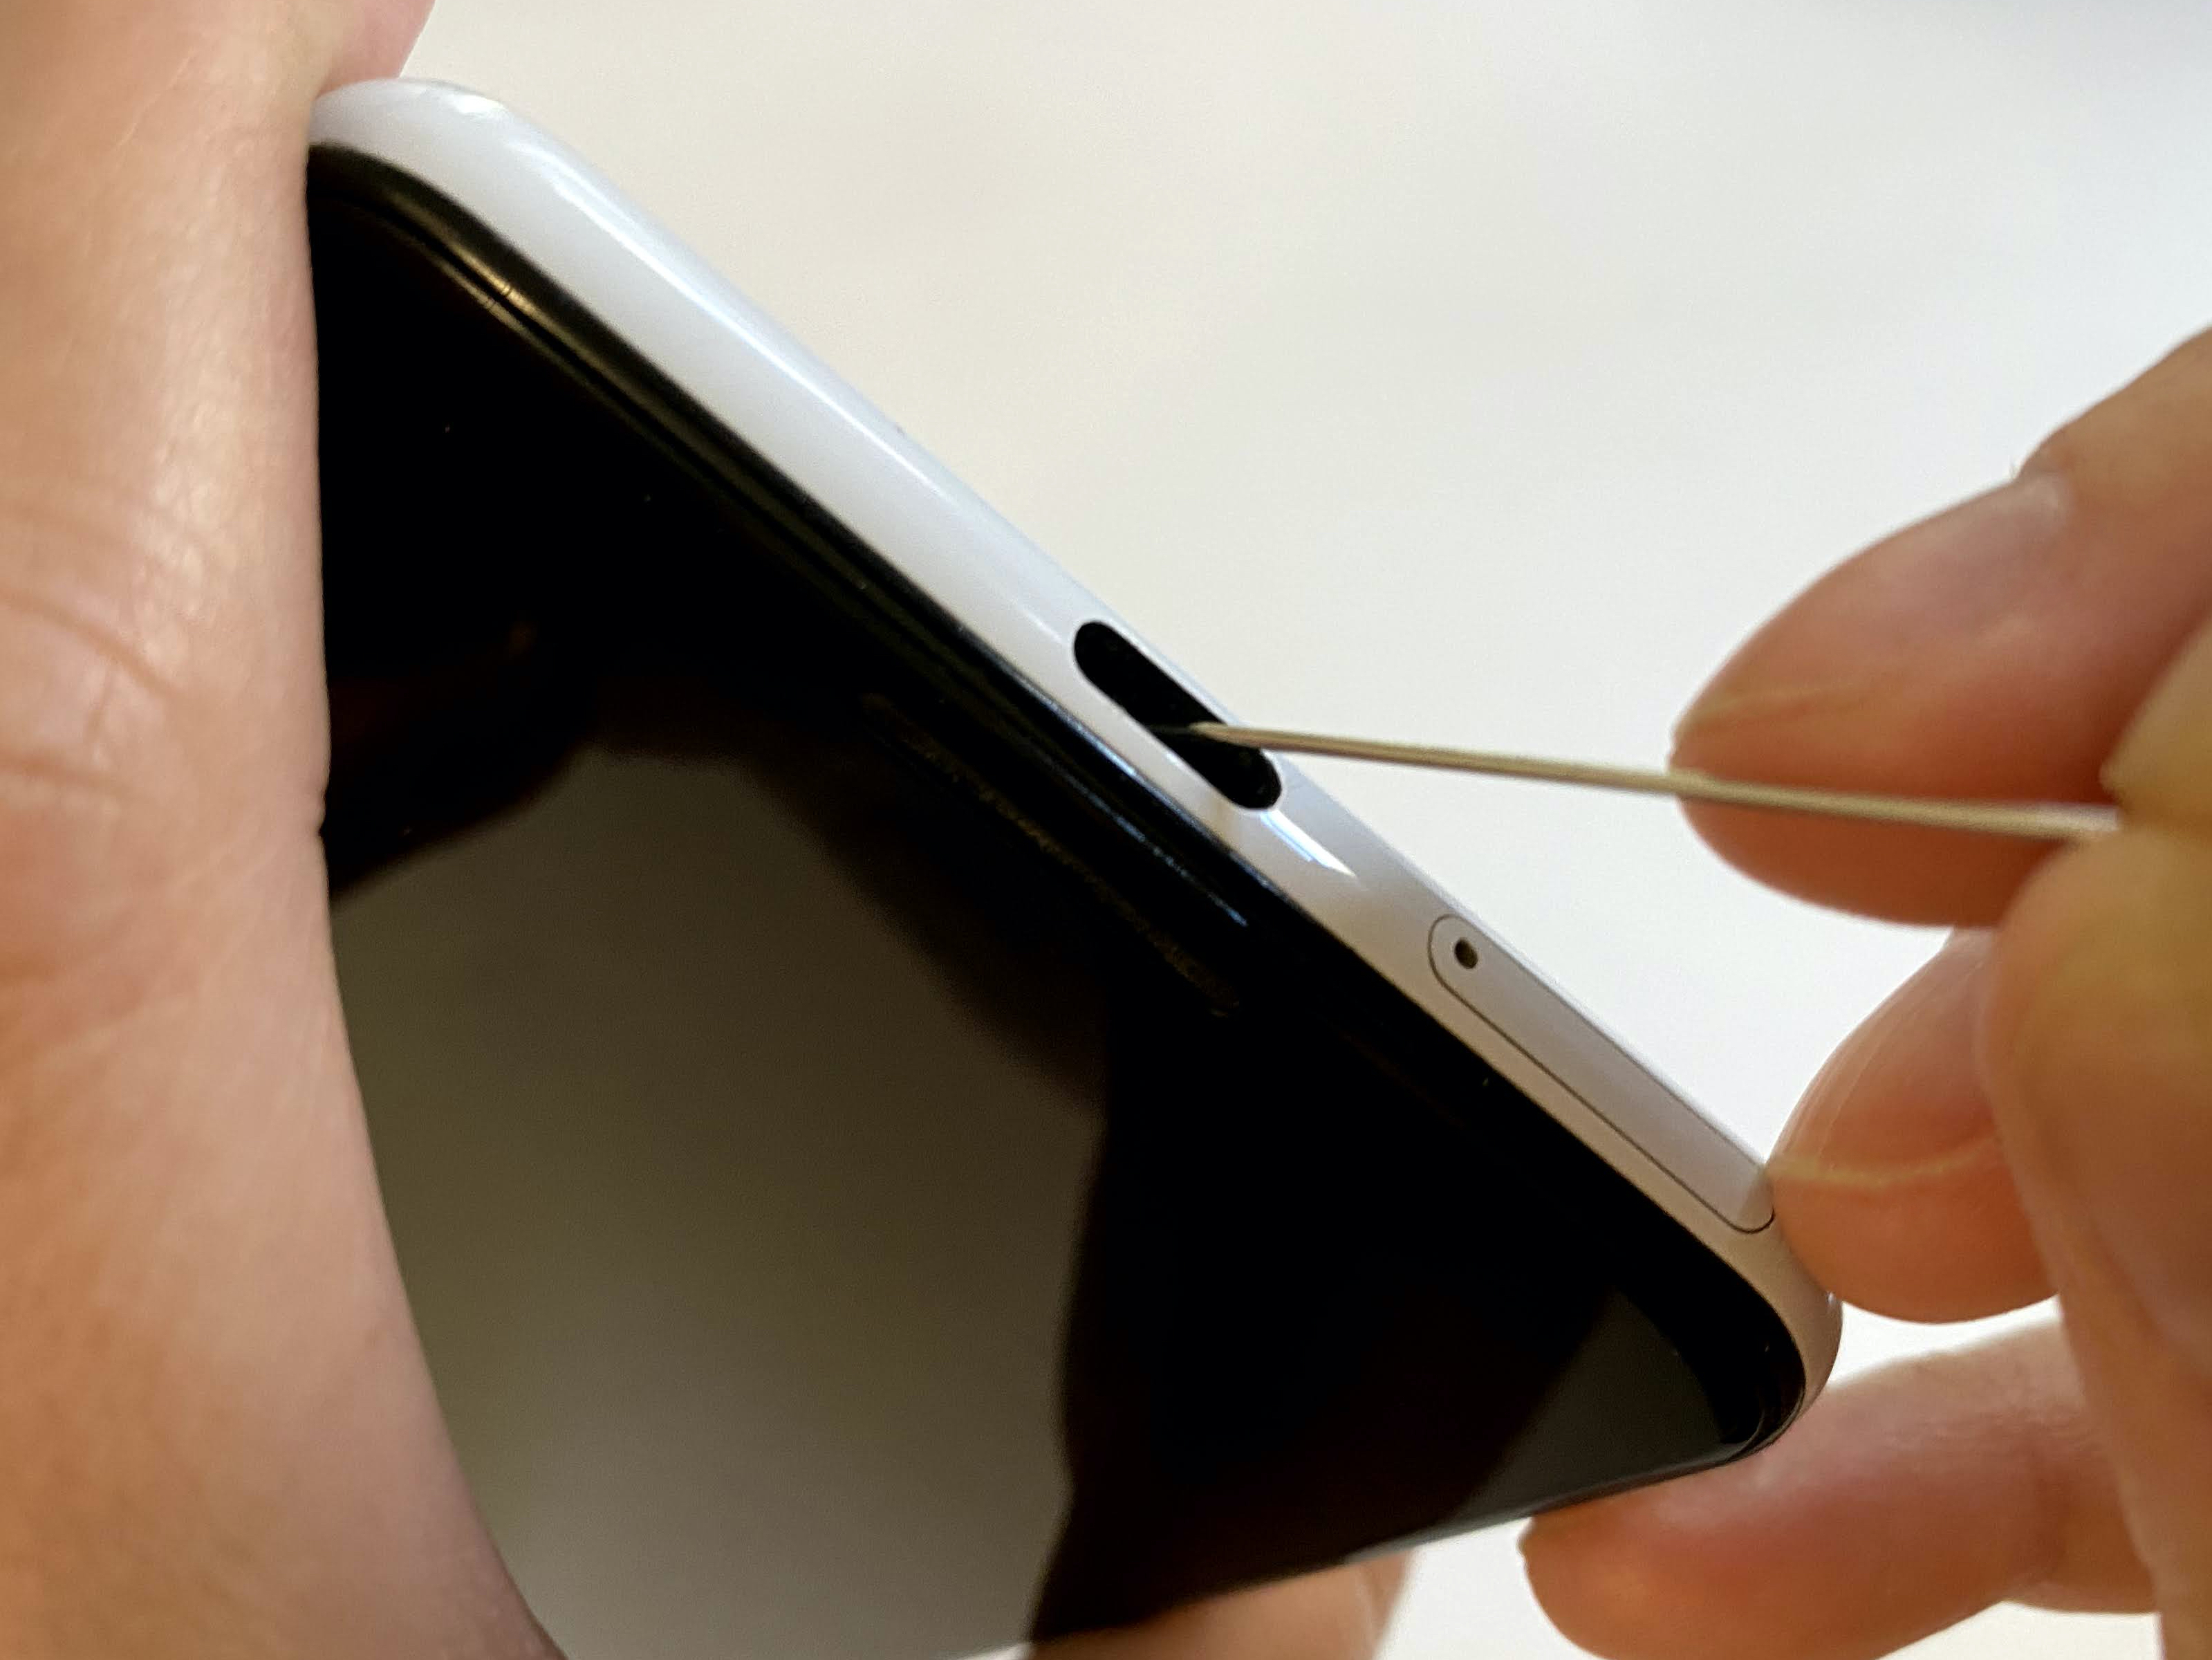
Method 3: Toothpick or Plastic Spudger
- Use a non-metallic tool like a wooden toothpick.
- Carefully scrape out debris.
- Do not press too hard or touch the metal pins.
- Remove lint little by little.
Method 4: Alcohol Cleaning (For Sticky Residue)
- Dampen a cotton swab with 90% isopropyl alcohol (not dripping wet).
- Wipe gently around the edges of the port.
- Let it dry for a few minutes before testing.
⚠️ Never use water or household cleaners — they can corrode the electronics.
After cleaning, plug in your charger. If it works, the problem is solved!
Step 3: Inspect and Adjust Loose Pins
If cleaning doesn’t help, shine a light into the port and inspect the pins.
- Are they straight and evenly spaced?
- Do any appear bent or off-center?
How to Realign Pins Safely
- Use a magnifying glass for a clear view.
- Take a plastic or wooden tool (no metal).
- Gently nudge bent pins back into place.
- Do not apply pressure — the pins are very fragile.
If pins are broken or missing, move to replacement instead of adjustment.
Step 4: Test Cable and Charger Again
Even if you tested before, try once more after cleaning.
- Use a different wall adapter (5V–9V output).
- Try an original manufacturer cable.
- Plug into a laptop USB port and observe.
- Wiggle the connection slightly — if the charging starts or stops, the port is loose.
If multiple cables and chargers fail, the port likely needs replacement.
Credit: tiffstuff.com
Step 5: Replace the Charging Port (If Needed)
When cleaning and adjustments don’t fix it, it’s time to consider replacing the port.
Most Android phones have modular ports that can be replaced without soldering.
Step 5.1: Get the Right Replacement Part
- Search for a charging port flex cable or charging dock board by your phone’s model number.
- Buy from trusted suppliers (check reviews and ratings).
- Ensure the part matches your exact model and connector type.
Step 5.2: Disassemble the Phone
- Power off your phone completely.
- Remove SIM tray and back cover (use a suction cup and plastic prying tool).
- Remove screws carefully and organize them.
- Disconnect the battery connector first.
- Locate the charging port board at the bottom.
Step 5.3: Install the New Charging Port
- Unscrew and detach the old charging port board.
- Disconnect ribbon cables gently.
- Place the new charging port board into position.
- Reconnect all cables and screws.
- Reconnect the battery and test the charger before closing the phone.
Step 5.4: Test Before Reassembly
Plug in a charger while the phone is still open.
If it charges normally, proceed with reassembly.
If not, double-check the cable connections.
Step 6: Test Charging and Data Transfer
After replacement or cleaning, it’s time to confirm everything works.
- Plug in your charger and watch for the charging icon.
- Wiggle the cable gently to test connection stability.
- Check if the phone charges consistently without stopping.
- Connect your phone to a computer — if it recognizes the device, data lines work too.
If charging works but data transfer fails, recheck the connection or USB mode settings.
Step 7: When to Seek Professional Help
Not every repair can be done at home.
Here are signs that you should visit a technician:
- Broken or missing pins inside the port
- Burn marks or electrical smell
- Phone heats up excessively while charging
- Corrosion inside or around the port
- Water-damaged device
- No charging even after replacement
How to Choose a Good Repair Shop
- Look for certified technicians with high ratings.
- Ask if they use original or OEM-grade parts.
- Make sure they provide a warranty for their work.
- Compare repair costs — avoid shops that charge unusually low or high fees.
Step 8: Prevent Future Charging Port Problems
Once your port is fixed, you’ll want to keep it that way.
Follow these habits to extend its life.
Regular Cleaning
- Clean your charging port monthly using compressed air or a soft brush.
- Avoid linty pockets or dusty environments.
Careful Handling
- Plug and unplug cables gently — don’t yank them out.
- Avoid charging while holding or twisting the cable.
- Keep liquids and moisture away from the port.
Proper Storage
- Use dust plugs or a phone case with port protection.
- Don’t store your phone in jeans pockets where lint accumulates.
Use Quality Accessories
- Always buy original or certified charging cables.
- Cheap cables can short your port or damage your phone’s board.
- Replace cables when you notice frays or loose connectors.
Step 9: Fix Charging with Software Solutions
Sometimes, charging issues are caused by software bugs — not the port.
Try these before assuming hardware failure.
- Restart your phone.
- Boot into Safe Mode — if it charges there, an app might be the cause.
- Update your Android OS and system apps.
- Turn off battery optimization for critical apps.
- Clear cache partition (on models that support it).
- Factory reset as a last resort (backup first).
These steps ensure that no background process interferes with charging.
Step 10: What to Do After Water Damage
Water can quickly corrode metal contacts in the charging port.
- Power off your phone immediately.
- Remove SIM card and accessories.
- Pat the phone dry — do not use heat or a hairdryer.
- Leave it in a bowl of silica gel packets (better than rice).
- Do not charge it until fully dry (at least 24–48 hours).
- If corrosion forms, take it to a repair shop for ultrasonic cleaning.
If you notice green or white residue in the port, that’s corrosion — get it cleaned professionally.
Step 11: Understanding USB-C Port Specifics
Modern Android phones use USB-C, which is reversible and supports faster charging.
However, it can also be more sensitive to misuse.
- Always insert the plug straight — avoid forcing it in.
- Use high-quality, certified USB-C cables.
- Avoid cheap adapters that can damage power delivery circuits.
- If your port feels loose, the internal shield may need resoldering.
Many phones now use a USB-C daughterboard — this makes replacing the port easier without touching the main motherboard.
Step 12: When Repair Costs More Than a Replacement
If your phone is very old or repair costs exceed its value, consider replacement.
For example, if your port replacement quote is $80 and your phone’s resale value is $90, it may be wiser to upgrade.
However, for newer phones or flagship models, repair is usually more cost-effective.

Credit: www.youtube.com
Frequently Asked Questions (FAQs)
1. How can I clean my charging port safely?
Turn off the phone, use compressed air or a soft brush, and avoid using metal tools or water.
2. Why is my Android phone not charging?
Try different cables and chargers, clean the port, and restart your phone. If it still doesn’t work, the port may be damaged.
3. Can a damaged charging port be fixed?
Yes. Simple issues can be fixed at home. Severe damage (like broken pins or corrosion) needs professional repair or replacement.
4. What are signs of a faulty charging port?
Loose fit, intermittent charging, no charge icon, visible lint, or corrosion around the port.
5. How long does port replacement take?
A straightforward replacement takes 30–90 minutes. Complex, soldered repairs take longer.
Final Thoughts
Fixing your Android phone’s charging port doesn’t have to be scary or expensive.
Most problems — like dirt or lint — can be solved in minutes with the right approach.
Here’s a recap:
- Always start with cable and charger tests.
- Clean the port gently using non-metal tools.
- If necessary, replace the port carefully or seek expert help.
- Keep it clean and protected to prevent future issues.
When you follow these steps, your phone should charge smoothly again.
Work patiently, handle it gently, and you’ll likely restore your phone’s full charging power — saving both time and money.

Marlowe Quinn is a technology writer at ElectroDoz, with expertise in smartphones, chargers, power banks, phone cases, selfie sticks, and other mobile accessories. Known for breaking down specs and features into easy-to-understand insights, Marlowe helps readers find the right gadgets to stay connected and powered up in their daily lives.