
How to Project Image Without Projector: Creative Solutions
Imagine wanting to share a photo or video with friends or family, but you don’t have a projector on hand. What if there was a way to project an image without one?
This might sound like a magic trick, but it’s not. It’s a clever and simple solution that you can achieve with everyday items. Whether you’re at home, a friend’s house, or even outdoors, you’ll be able to showcase your content without the high-tech gear.
This not only saves you money but also adds a touch of creativity and resourcefulness to your toolset. Dive into this guide to discover how you can impress your audience and make the most of what you already have. Your journey to becoming the ultimate visual storyteller starts here, and it’s easier than you think. Ready to unlock the secrets? Let’s get started!
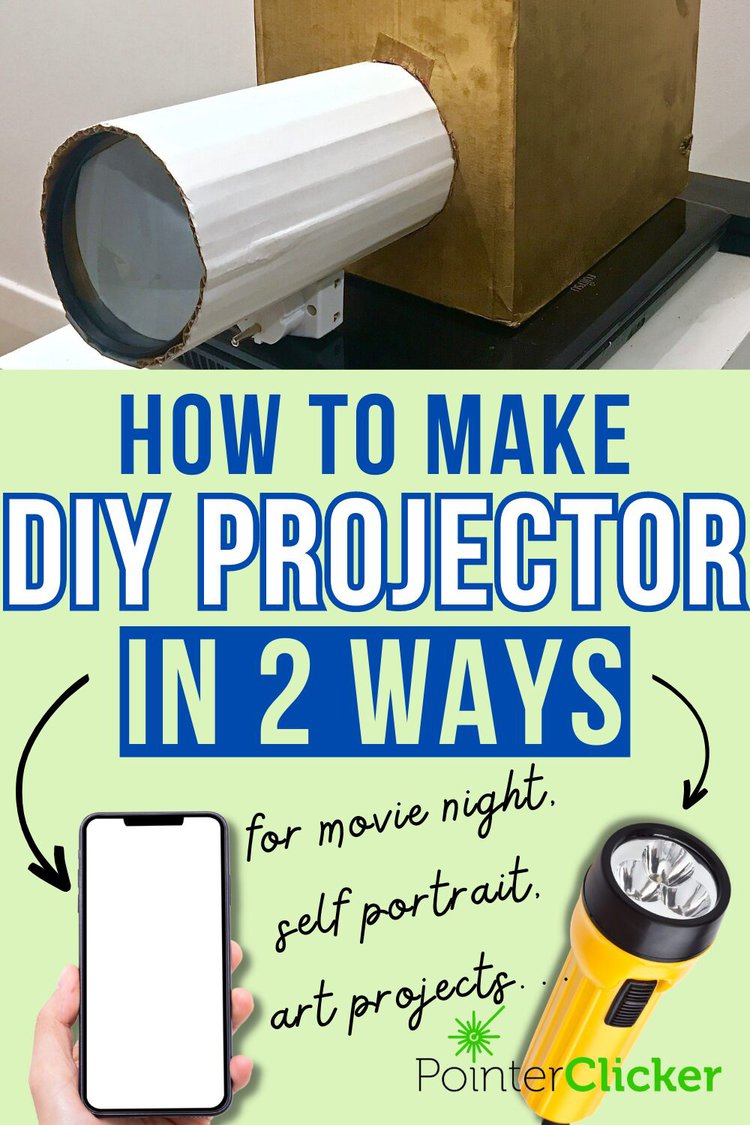
Diy Projector Using Smartphone
Gather a shoebox, magnifying glass, and tape. You also need scissors and a smartphone. A dark room helps, too. Good sound is important. Consider using a Bluetooth speaker. It’s simple and fun to set up.
First, cut a hole in the shoebox. Make sure it’s round. Place the magnifying glassin the hole. Secure it with tape. Now, put your smartphone inside the box. The screen should face the lens. Turn off auto-rotate on your phone. Make sure the room is dark. It helps the image show better.
Keep the box stable. Use a stand or books. Adjust the focus by moving the phone. Make the image clear. Brightness matters. Increase it on your phone. Sound can be tricky. Use a Bluetooth speaker for better sound. Enjoy your homemade projector!
Magnifying Glass Techniques
The right magnifying glass is important. Bigger lenses show larger images. Smaller ones focus light better. A fresnel lens is a good choice. It is thin and flexible. Easy to carry too.
Place the magnifier at the right distance. Move it closer or farther to focus. The image will appear on a wall or screen. Make sure the room is dark. This helps the image show clearly.
Use a white background for better image quality. Adjust the light source for brightness. A flashlight works well. Keep the lens clean. Dirt can make the image blurry. A clean lens is important for clarity.
Flashlight Projection Method
You need a strong flashlight. The brighter, the better. A transparent sheet or film is required. This will hold your image. Tape or glue helps to fix the sheet. A dark room makes your image clear. A sturdy stand keeps the flashlight steady.
Use a blank wall. It should be white or light-colored. Hang the film or sheet using tape. Ensure it’s smooth and flat. Wrinkles can ruin the image. Align it with the flashlight beam. This makes the picture clear.
Move the flashlight closer to the sheet. This makes the picture larger. Adjust the angle for sharpness. Keep the room dark. Avoid any light leaks. Test different sheet sizes. Bigger sheets show more detail. Experiment until satisfied.
Using A Laptop Screen
Screen Mirroring Techniqueslet your laptop show on bigger screens. Use a cable or wireless connection. HDMI cable is the most common. Some laptops have built-in screen mirroringfeatures. Check settings for options like AirPlay or Miracast. Make sure both devices are connected to the same network.
Improving Brightness and Contrastis important for clear images. Adjust the laptop screen settings. Find the brightness control in display settings. Increase the contrast for better clarity. Use external software tools for advanced adjustments. Some laptops have auto-brightness settings. Turn them off for manual control.
Portable Solutionshelp take images anywhere. Use small, portable monitors. Tablets can also work as portable screens. Connect using USB or Bluetooth. Portable screens are lightweight and easy to carry. They don’t need much power. Perfect for travel.
Mirror Reflection Techniques
Setting Up the Mirroris easy. First, find a big mirror. Place it in a stable spot. Make sure it doesn’t move. The mirror should be clean. Any dirt will spoil the image. Use a soft cloth to wipe it. Make sure the mirror is flat. A bent mirror won’t work well.
Angle and Distance Adjustmentsare important. Try different angles. A small change makes a big difference. Move the mirror closer or farther. The image gets bigger or smaller. Find the best spot. It should show the whole picture. Test and adjust until it’s perfect.
Troubleshooting Common Issuescan be tricky. The image might be fuzzy. Check the mirror’s position. It should be straight. If the image is dark, adjust the light. Add a lamp near the mirror. If colors look wrong, try a new angle. Keep experimenting. You’ll get it right.

Credit: www.youtube.com
Projection Using Shadows
Shadow art is fun and easy. Use your hands or objects. Make sure the light is bright. This helps create clear shadows. Try using a flashlight or lamp. Hold your hands close to the light. Watch the shapes on the wall.
Lighting is very important. Use a single light source. This makes shadows sharp. The room should be dark. This helps the shadow stand out. You can adjust the light. Move it closer or farther. See how the shadow changes.
Shapes and sizes matter a lot. Use different objects. Try a toy or a book. Watch how the shadow changes. You can make the shadow bigger. Move the object closer to the light. Make it smaller by moving it away. Keep experimenting and have fun!
Alternative Light Sources
A simple candle can be a creative tool. Place it behind a small object. The shadow will appear on the wall. Use a lamp for clearer images. Adjust the distance for the best size. A white wall works best for these projections. This method is fun and easy to try at home.
Use sunlight for a natural projector. Place objects on a windowsill. Their shadows will fall inside the room. This creates interesting shapes on the floor or wall. Morning or late afternoon light works well. It’s simple and free.
Always be careful with candles. Keep them away from flammable items. Never leave a candle burning unattended. For lamps, check the wires. Make sure there are no damages. With sunlight, avoid looking directly at the sun. Protect your eyes.
Credit: pointerclicker.com
Frequently Asked Questions
How Can I Project An Image Without A Projector?
You can project an image using a smartphone, magnifying glass, and a dark room. Place the phone in a box with the magnifying glass at one end. Adjust the distance to focus the image on a surface.
What Alternatives Exist To Traditional Projectors?
Alternatives include using a smartphone with a magnifying glass, a mirror, and a white wall. DIY methods can creatively project images. These alternatives are cost-effective and can be set up at home with simple materials.
Can I Use A Flashlight To Project Images?
Yes, a flashlight can help project images using simple DIY techniques. Use a transparent sheet with an image on it. Place it in front of the flashlight to display the image on a wall.
Are There Apps For Projecting Images Without Projectors?
Yes, there are apps that help project images using your smartphone. These apps often use your phone’s flashlight and camera. They create a DIY projection by magnifying the image onto a surface.
Conclusion
Exploring ways to project images without a projector opens new possibilities. Smartphones and laptops can serve as useful tools. DIY methods bring creativity and fun into the process. Mirrors, lenses, and simple techniques can enhance image quality. Practice and patience help achieve the best results.
Experiment with different setups to find what works for you. This journey offers learning and the chance to adapt technology creatively. Share your experiences and tips with others. Enjoy the process and the unique results it brings. Your solutions may inspire others to try this innovative approach.

Everett Ashford is an electrical engineer and expert in electronics reviews, tips, and troubleshooting. Specializing in audio and sound devices, including earbuds, AirPods, and headphones, he brings in-depth knowledge and practical advice to help consumers make informed decisions.